


Have you ever stepped into the bathroom, turned on the faucet, and instead of the comforting rush of warm water, you’re greeted with a disappointing blast of cold? If this scenario sounds all too familiar, it might be time to pay some attention to your often-overlooked household hero—the water heater.
Your water heater is like a quiet workhorse, diligently providing you with hot water whenever you need it. However, over time, sediment and mineral buildup can accumulate inside, reducing its efficiency and lifespan. The solution? Regularly flushing your water heater. In this comprehensive guide, we’ll walk you through the steps to ensure your water heater operates at its best, guaranteeing a steady supply of hot water and potential energy savings.
Benefits of Flushing a Water Heater
Flushing your water heater is a crucial maintenance task that offers several benefits for the efficiency, longevity, and safety of your hot water system. Here are the key advantages of regularly flushing your water heater:
Improved Efficiency
Over time, sediment, minerals, and debris can accumulate at the bottom of your water heater tank. This sediment acts as an insulating barrier, making it harder for the heating element to transfer heat to the water. Flushing your water heater removes these deposits, allowing it to operate more efficiently. This improved efficiency can lead to lower energy bills as the heater doesn’t have to work as hard to heat the water.
Extended Lifespan
By reducing the buildup of sediment and minerals, regular flushing can extend the lifespan of your water heater. Sediment accumulation can cause corrosion, leading to leaks and potential damage to the tank. Flushing helps prevent these issues, ultimately saving you the cost of premature replacement.
Consistent Hot Water Supply
Flushing your water heater ensures a consistent and ample supply of hot water. Sediment and mineral buildup can result in reduced water flow and lower water temperature. By maintaining a clean tank, you’ll enjoy a more reliable and hotter water supply.
Reduced Energy Consumption
A cleaner water heater operates more efficiently, which translates to reduced energy consumption. Over time, this can result in significant energy savings, contributing to a more environmentally friendly and cost-effective household.
Improved Water Quality
Flushing your water heater can lead to better water quality. Over time, bacteria and other contaminants can accumulate in the stagnant water at the bottom of the tank. Regular flushing helps remove these impurities, leading to cleaner and safer hot water.
How Do You Flush a Water Heater?
Flushing a water heater is a relatively straightforward process, but it’s essential to follow the steps carefully to ensure your safety and the effectiveness of the procedure. Here’s a step-by-step guide on how to flush a water heater:
Step 1: Safety First
Before you begin, ensure your safety by turning off the power supply to the water heater. If you have an electric water heater, switch off the circuit breaker. For gas water heaters, set the gas control valve to the “pilot” position. Wait for the water heater to cool down before proceeding.
Step 2: Turn Off the Water Supply
Locate the cold water supply valve that feeds water into your water heater. It’s usually located near the top of the tank. Turn this valve off to stop the inflow of water into the tank.
Step 3: Attach a Hose
Attach a garden hose to the drain valve at the bottom of the water heater tank. You may need a wrench or pliers to do this. Ensure that the hose is securely attached to prevent leaks.
Step 4: Drain Into Bucket
Place the other end of the hose into a large bucket or position it where you can safely discharge the water. Make sure the hose is lower than the drain valve to allow gravity to assist in draining the tank.
Step 5: Open the Drain Valve
Slowly open the drain valve on the water heater by turning it counterclockwise. Be prepared for hot water to start flowing into the bucket or drain. This water may be scalding, so exercise caution.
Step 6: Drain the Tank
Allow the water heater to drain completely. This process can take some time, depending on the size of your tank and the amount of sediment present. You can speed up the process slightly by opening a hot water faucet in your home to allow air into the system, facilitating drainage.
Step 7: Inspect the Water
As the tank drains, observe the water coming out. Initially, you may notice cloudy or rusty water due to sediment removal. Continue draining until the water runs clear, indicating that most of the sediment has been removed.
Step 8: Close the Drain Valve
Once the water runs clear, close the drain valve by turning it clockwise. Ensure it’s securely closed to prevent leaks.
Step 9: Refill the Tank
Turn the cold water supply valve back on to refill the tank. Leave a hot water faucet open in your home to allow air to escape from the system until a steady flow of water is established from the faucet. Then, close the faucet.
Step 10: Restore Power
If you have an electric water heater, restore power by turning on the circuit breaker. For gas water heaters, set the gas control valve back to the desired temperature setting.
Step 11: Monitor for Leaks
Check for any leaks around the drain valve and hose connection. If you detect any leaks, tighten the connections as needed.
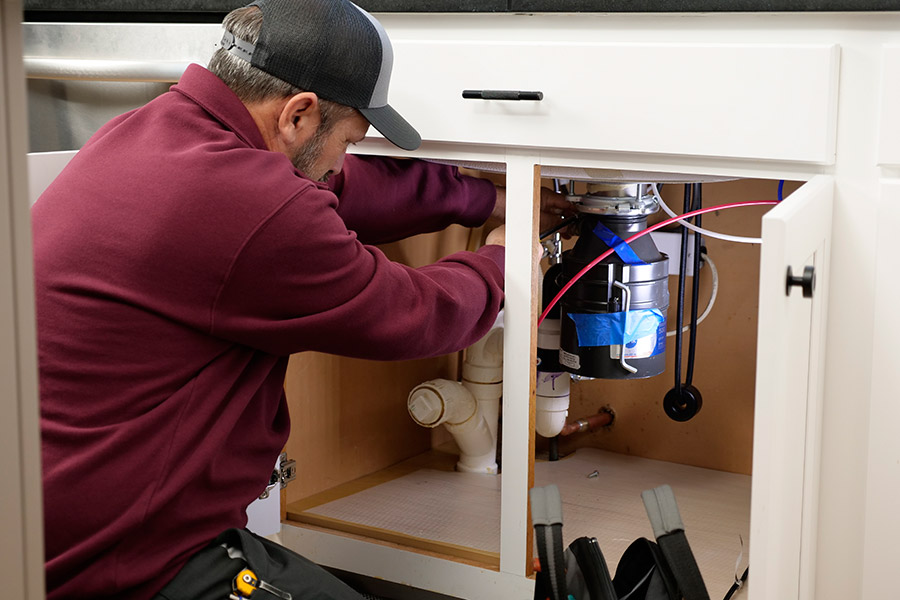
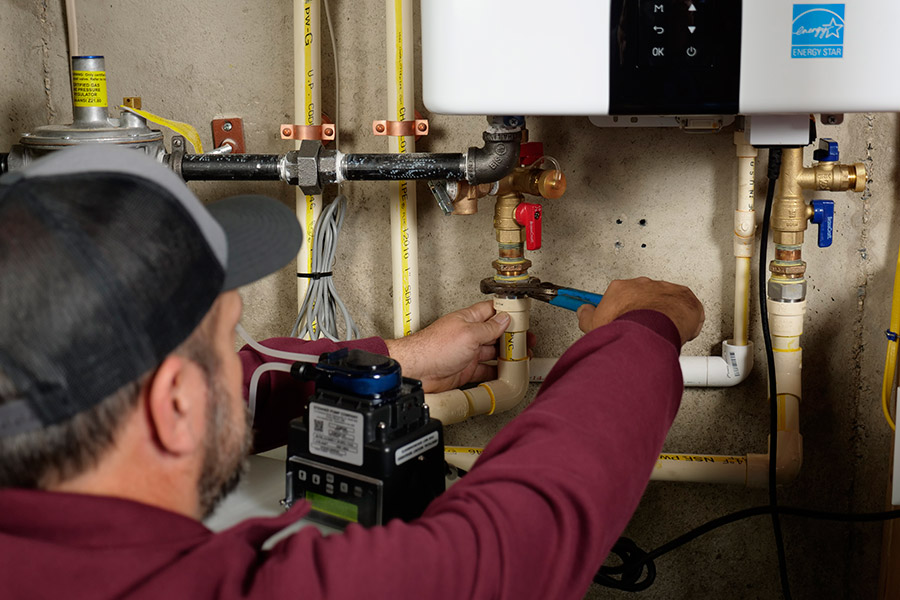
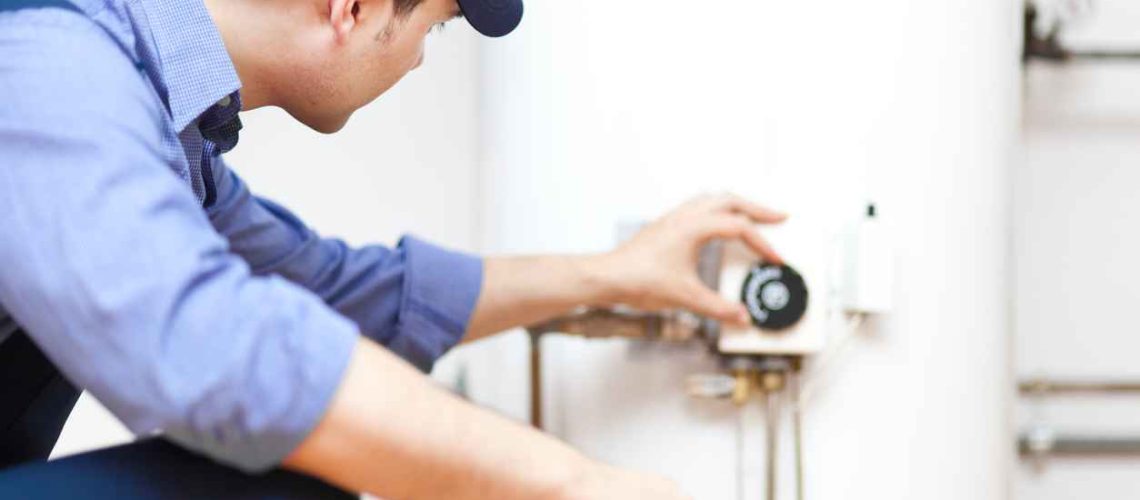
Water Heater Services in Central Maryland
In Central Maryland, ensuring your water heater operates at its best is essential for comfort and efficiency. At W.L. Staton, we’re here to assist you with all your water heater service needs. Our experienced professionals offer expert maintenance, repairs, and replacements to keep your hot water flowing reliably. Contact us today to schedule your water heater service and enjoy worry-free hot water for years to come.